A digital signature on iPhone and iPad
This guide is for Apple device owners with the iOS operating system, i.e. iPhone or iPad. You can use it to import the issued certificate onto the device and set it to the mail client. You will also find instructions on how to sign and encrypt a message directly on your iOS device.
Importing the certificate to the device
S/MIME Client Premium certificate contains the email address for which the certificate is issued. This address must be verified before the certificate can be issued to prove that the address' owner agrees with the issuance of the certificate.
The verification link sent by the certificate authority leads to the DigiCert web. Here you’ll see the positive outcome of the address’ verification and the confirmation of the certificate’s issuance. At this point you only need to wait for the authority to issue your certificate.Internet Explorer is no longer used for the pick-up of Client Premium certificates. The certificate is issued in the usual way on the basis of the provided CSR.
You’ll receive the issued certificate by email. Export it to PFX (you can do it in the order detail in your customer account by clicking on "Download certificate in PFX") and transfer it to your iPhone or iPad. The easiest way is to send the PFX file by e-mail. Then open the file and you will see a confirmation that "Profile has been downloaded".
Go to Settings -> General -> Profile (last option). Click on Identity Certificate and install it in the next dialogue. Ignore the unsigned profile warning and when prompted for the certificate password, enter the password you set for the PFX file when exporting from IE (note that two passwords need to be entered- the first to unlock the iOS device, the second to the PFX). The certificate is now imported to your device and you can start using it.
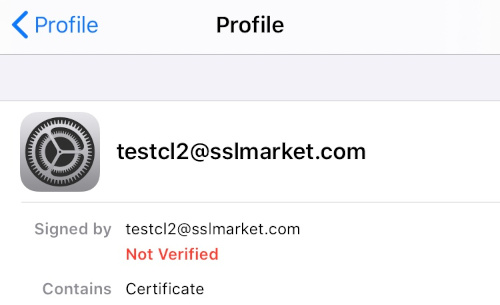
After successful importing the profile, the certificate is visible on the device as a so-called configuration profile, which is illogical compared to PC programs and can cause problems for users.
Signing certificate settings
To be able to sign messages, you must set up a certificate to use for a specific mail account; this is the same principle as on the desktop. Therefore, after successfully importing it, go to the certificate settings for your e-mail account.
Go from Settings: Passwords and accounts -> Select the given mail account, in the following, detail click on the account name again and in the next detail go to Account -> Other; the lower S / MIME section contains switches for the Sign and Encrypt by default options. The prerequisite for enabling this option is - of course - the presence of a certificate on the device.
Email signing (including encryption) can be set as the default for each message.
Email signing
In iOS, set at least the e-mail signing for the given mail account as the default. Then, when filling in the recipient's email, you will see a small lock next to the address. This indicates the security status - an open lock means a signature, a locked lock means message encryption. You can also see a red lock - this symbolizes the fact it is impossible to use encryption, see the last paragraph.
Click the blue lock to switch between signing and encrypting the message (recipients will receive both signed and encrypted ones). You can use multiple recipient addresses.
Email encryption
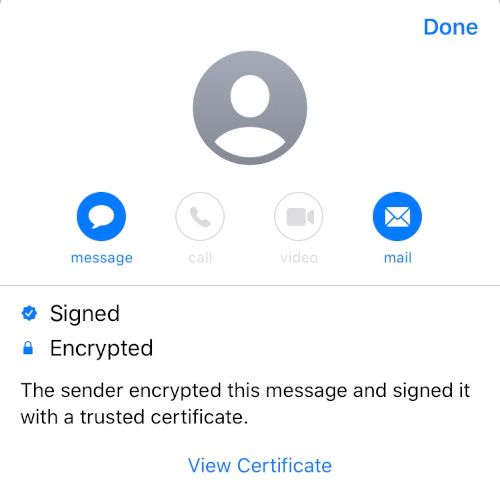
Of course, the iOS device allows you to send an encrypted message. The prerequisite is that the recipient's certificate (sic) is installed on the device. It is not enough to just receive a message with a public key, as is the case with PC applications (Outlook, Thunderbird). So open a signed e-mail for the given recipient, click on the signature detail, view the certificate, and install it. You can then send an encrypted message to this recipient.

To send an encrypted message, simply turn on encryption as the default (see the section Signing certificate settings); then it will be offered to those recipients whose certificate you have imported. Just start writing a new message to such a recipient and you will see the encryption confirmation both in the form of a lock and in text form in the message header. You can change the encryption to a signature by clicking on the lock, which will "disconnect" or be crossed out. This depends on the version of iOS you are using, the ways it is displayed are slightly different.

Problems you may encounter:
- Imported certificates appear as "Unauthenticated" in the Profiles agent. However, this is not related to their credibility and they are fully trusted by the mail client, which can be seen. This is because imported certificates are considered untrusted by default, but they work fine in an e-mail client. See Apple Help.
- Older iOS versions may have a problem with message encryption (e.g. iOS 12); the e-mail client refuses to use encryption when sending. The iOS 13 no longer has this problem and we therefore recommend an update.
- An email client in iOS cannot encrypt email "by itself," so you do not send an encrypted message to the sender's mail.
- You may encounter bugs where, for example, in iOS 12.4.7, the title ‘Encryption’ remains displayed.
