Install the SSL certificate on IIS 7 and IIS 6
This article provides instructions on how to generate a CSR and then install the TLS certificate on the IIS 7 and IIS 6 web servers.
Generate CSR request
Generating a CSR request is a prerequisite for issuing a certificate. The CSR contains a public key that the authority signs to create a TLS certificate. It is not possible to issue a certificate without CSR.
Create a CSR request on IIS 7
On a Web server with IIS 7, the CSR is generated in the wizard. Go to the Server certificates menu in IIS and select Create certificate request in the top right. You will see the CSR creation wizard. Enter all required information in it, select the depth of 2048 (bits) and save the generated CSR file.
The generated CSR is in text form, so you can open a file created in IIS in Notepad and put the CSR text into an order in SSLmarket.
For a video on how to generate a CSR request on Microsoft IIS 7, see the video tutorials section.
Create a CSR request on IIS 6
Na webovém serveru IIS 6 probíhá generování v průvodci IIS. Ve spuštěném IIS 6 klikněte pravým tlačítkem na website, se kterou chcete pracovat. Vyberte Properties a v následujícím okně vyberte záložku Directory Security. Vespodu okna uvidíte sekci Secure Communications, ve které klikněte na Server Certificate. Tímto spustíte průvodce tvorbou CSR requestu. Vyberte Create a new Certificate a v dalším kroku Prepare the request now, but send it later. V dalším kroku napište popisné jméno certifikátu a vyberte bitovou hloubku 2048 bitů. V dalších třech krocích upřesňujete údaje, které mají být uvedeny v CSR.
CSR on the IIS 6 is done in the IIS wizard. Right-click the website you want to work with. Select Properties and select the Directory Security tab in the next window. At the bottom of the window, you'll see the Secure Communications section, and click Server Certificate. This will launch the CSR request creation wizard. Select Create a new Certificate and then Prepare the request now, but send it later. In the next step, type the descriptive name of the certificate and select a bit depth of 2048 bits. In the next three steps, you specify the data to be reported in the CSR.
See the help article about public key (CSR) for information what information use in the CSR.
Common name is the complete domain name for which the certificate is issued; so include the complete address, including subdomains. After completing the data, the wizard will prompt you to save the text file with the CSR request. After saving the file, open and copy the text of the CSR request that you paste into the SSLmarket administration in the SSL certificate order detail.
Installing the certificate on IIS 7
After receiving an email from the CA with the newly issued certificate, copy the certificate text, including the hyphens, and save it to a CER file. To save plain text, use Notepad, we recommend not using Microsoft Word editors.
The first step of the installation is to log on to the Windows server with IIS 7, where is a site where the certificate will be used. You need to log on to the server as Administrator. After successful login click on the "Start" button, then select "Administrative Tools" and select "Internet Information Services Manager". In the IIS Manager on the left side of the window, select your server name and then select "Server Certificates".
In this section of the IIS Manager you can manageme all certificates on the server. IIS should be waiting for completition of the request (import of the certificate.)
In the upper right, select "Complete Certificate Request" and in new window select the path to the certificate file and enter a descriptive name for the certificate. This helps you with better navigattion in certificates on the server. Confirm the dialog by clicking OK to install the certificate on the server.
If you see an error saying that the certificate request was not found, it means that server cannot the certificate to matching private key. In such case do new CSR and make a reissue on your customer account.
After the certificate has been installed on the server, it must be assigned (binded) to the appropriate "Website".
Select the name of the server where the certificate will be installed from the left menu "Connections". Under "Sites" you will find a list of sites that are operated by IIS. Select the specific to which you want to assign the certificate and click "Bindings" in the menu on the right.
The "Site Bindings" window appears and click on "Add". In the next dialog you specify the settings. Select HTTPS as "Type", specify IP address and port for communication; this is typically 443. To complete the configuration, select the certificate that was previously installed. You can identify it by your domain name. Confirm this and the following dialog. To make changes, stop and restart the Web site. If the change still doesn't take effect, you will need to restart the server.
The certificate is now installed on IIS, but pay attention to Intermediate certificates that makes the certificate trust. Authorities publish Intermediate certificates together in PKCS#7 format and in one P7B file.
Video tutorial of TLS certificate installation on IIS 7
The process of installing TLS certificate on IIS 7 can be done with this Video tutorial. You will learn how to issue a new TLS certificate to install it on the server and Binding with the appropriate domain. Be sure to also install the Intermediate certificates, which we also discuss in the video help.
Installing the certificate on IIS 6
After receiving an email from a CA with a newly issued certificate, copy the whole certificate text, including the dashes, and save it to a CER file. To save plain text, use Notepad, we recommend not using Microsoft Word editors.
With IIS 6 running, right-click the website you want to work with. Select Properties and in the next window select Directory Security tab. At the bottom of the window, you will see the Secure Communications section and click Server Certificate. This will launch the wizard pending completion of the certificate request (CSR). Select Process the Pending Request and Install the Certificate in the wizard and select the certificate file you created earlier in the next step. Next, enter port number 443 as SSL Port. Complete the wizard to successfully complete the SSL certificate installation.
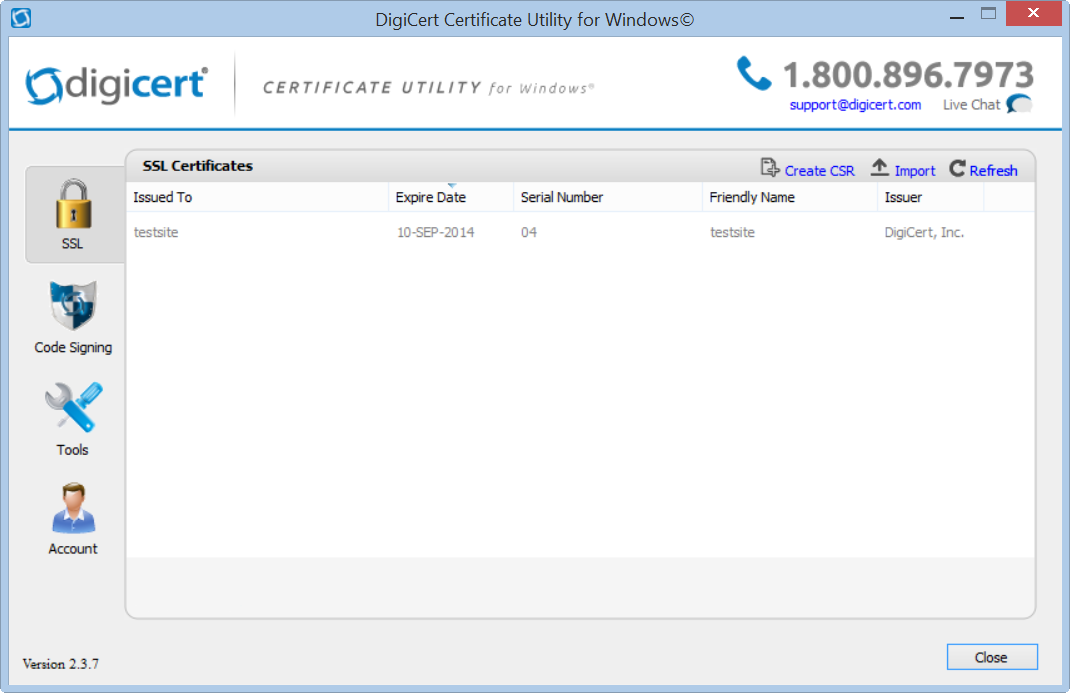
DigiCert Certificate Utility for Windows
For administration of certificates in Windows and Windows Server environment (creation of CSR, import of issued certificate) we recommend the program DigiCert Certificate Utility for Windows. You can do all common tasks (CSR, import, export) and manage Code Signing certificates.

We are sorry that you did not find the required information here.
Please help us to improve this article. Write us what you have expected and not found out.